Tiger Lily
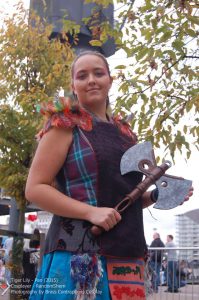
 Cosplay number Two was found with some internet digging. I have spent many hours searching for characters with my hair colour. Anyone who has met me knows I have a LOT of hair and I wasn’t convinced at this point that a wig was an option.
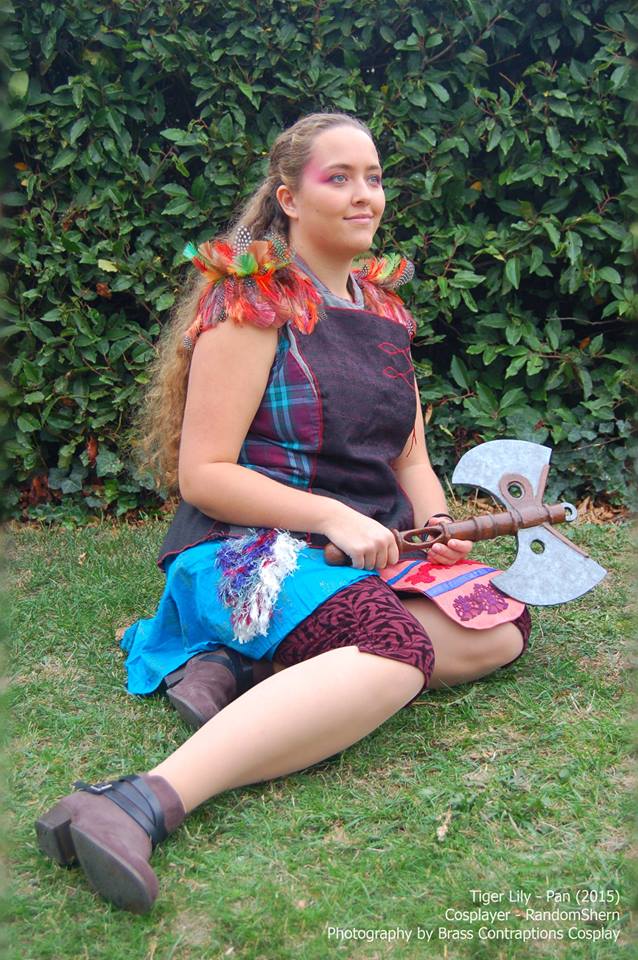
Anywho, I stumbled upon a beautiful outfit worn by Tiger Lily in the film named, Pan. She has long brown hair, win, and who doesn’t want fancy feather shoulders?? it was a double win… Now this one took a little longer to put together so bear with me. I found…
 A grey jacket, purple & black trousers, blue skirt, patterned fabrics (from a dress, trousers and two skirts), some chunky lace, ribbon, fluffy wool, feathers, dye, brown hessian string and one of the most hideous scarves I’ve ever seen. (I did also make the axe but that can have its own section in a post a little later.)
I started with the blue skirt, it was too long and the colour was not bright enough for what I needed. I figured dyeing the skirt first made sense, as if I cut first then the dye went wrong later, I would have wasted a fair amount of time, so I chose not to risk it. Thankfully I managed to get a decent colour, which was pretty even too. The length changes were pretty simple but took some time to make sure I was making the cut evenly.
Then I moved onto the jacket, where I carefully removed the arms and collar. After playing around with some scrap paper to make a template, I added on the front purple patterned piece, this created the cross over I needed. This was easier to do with the help of a second person and a whole bunch of safety pins to hold the flap in place while it was being tried on and things were being moved around. Next, following the shape of the panels on the coat, I added other pieces of patterned fabric, which I tacked into place, to create the patchwork effect. To finish the edges neatly and create the red stitch lines, I used a wide dense zigzag stitch over every seam, be warned it uses a lot of thread but is really worth it.
The main closure of the coat still worked underneath the purple flap which was handy, but the flap itself needed a way to tie in place. A solution came from finding high-resolution images from the film, which showed they were tied. Something I learnt during Textiles lessons at school is that you can zigzag stitch over twine, partly to make it a different colour, but it also gives an interesting texture too. So carefully sewing over the hessian string, I made both the loops and ties for the top. Then sewed them down, making sure to add a line of straight stitch down the centre of the string where it attached to the coat so it didn’t just slide out from under the zigzag stitch.
Moving onto the knee-length trousers, it was a pretty simple job of taking them up so they sat at a better length. And with that, the basic base elements were done and it was time to work on the details.
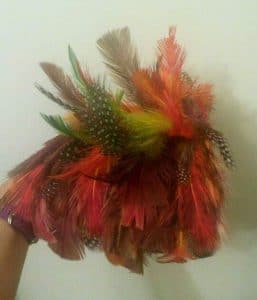 Let’s start with the feather shoulders. I used the sleeve offcuts to make a pair of fairly simple base pieces, they were the size of where I wanted the feathers to cover, which was slightly longer at the back, and they sat easily on my shoulders without too many creases or needing to be pulled into place. Next, I bought a few bags of feathers to work with, brown, orange, mixed colour and also a pack of the mottled white and black ones.
It’s worth noting, I took some time to go through the feathers picking out the best ones and making sure to have a decent colour range for the top of the shoulders. I wanted to make sure I wasn’t left with a bunch of small broken down feathers where I needed the height and interest. Using a combination of dye and sharpies I coloured a number of these chosen feathers to create some of the two-tone effects.
When it comes to sewing down feathers, we turn back to our trusty zig-zag stitch, this gives us the ability to pin down the feather without breaking the central stem so they still stand up nicely and don’t break into pieces.
Starting along the lowest edge with the smaller feathers I began sewing each feather down. I quickly realised I didn’t need to start and stop each stitch separately since it was not going to be seen so decided to jump from feather to feather without cutting the threads in between which helped speed up the process. Once I had got all the lower sections covered on both shoulders, I stopped to evaluate progress and realised I needed to split the nicer pile of feathers into two equal parts. Making sure I had enough curly ones for each side, enough long ones, mottled ones, green ones… you get the idea. I wasn’t looking to directly match the sets, they are feathers, after all, I just needed them to look balanced.
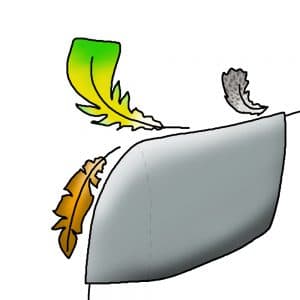 The feathers up to this point had been the ‘right’ way up, the way they are on a bird. But to get the height I needed, I opted to turn them upside down for the top section. Starting with some straighter feathers I added the next right row, working row by row each time picking the least curled feathers left over. This meant that at the end I was working the final most curly feathers into the very top centre of the shoulders. To cover the final stems of the feathers on the very top, I hand sewed in a few small fluffy feathers just so it looked nice and neat. I also hand sewed on some poppers so I could easily attach these shoulders to the coat.
I did go back in and colour a few more feathers with sharpies, just to add to the texture, plus some feathers created a block of colour which I wasn’t a fan of, so colouring them in a little helped fix that. I also used hair straighteners to gently curl a few feathers that were misbehaving, just be warned that sharpie and dye are likely to stick to the plates of the straighteners so maybe protect them with greaseproof paper. And with that the shoulders were done, I did have fun trying to figure out how to get them to travel safely, but maybe those adventures will be in a separate post.
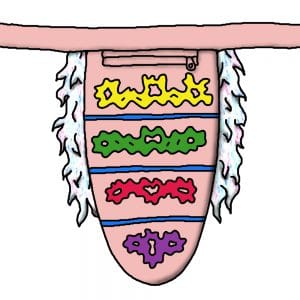 Now for the piece that sits down the front of the skirt. Salmon fabric was cut to shape, two outer layers, two inner layers and a long belt piece. Why all the layers you ask? This cosplay had no pockets, so I was determined to build in at least something to hold my phone and purse and this was how I was going to do it. I essentially made it be a type of bag. Utilizing the zip from the skirt to open and close the pocket. Before sewing everything together I decorated the front of the pouch with some lace and ribbon dyed with silk paints, nothing fancy but it did the job. I also added the zip at this point as I figured it was easier here than while I was trying to flip everything inside out as you do when creating hidden seams. Then I sewed it all together and thankfully it came together as I had hoped. I also borrowed a buckle off of an old belt which just grips the belt to stay done up rather than needing to make holes for a more traditional belt buckle.
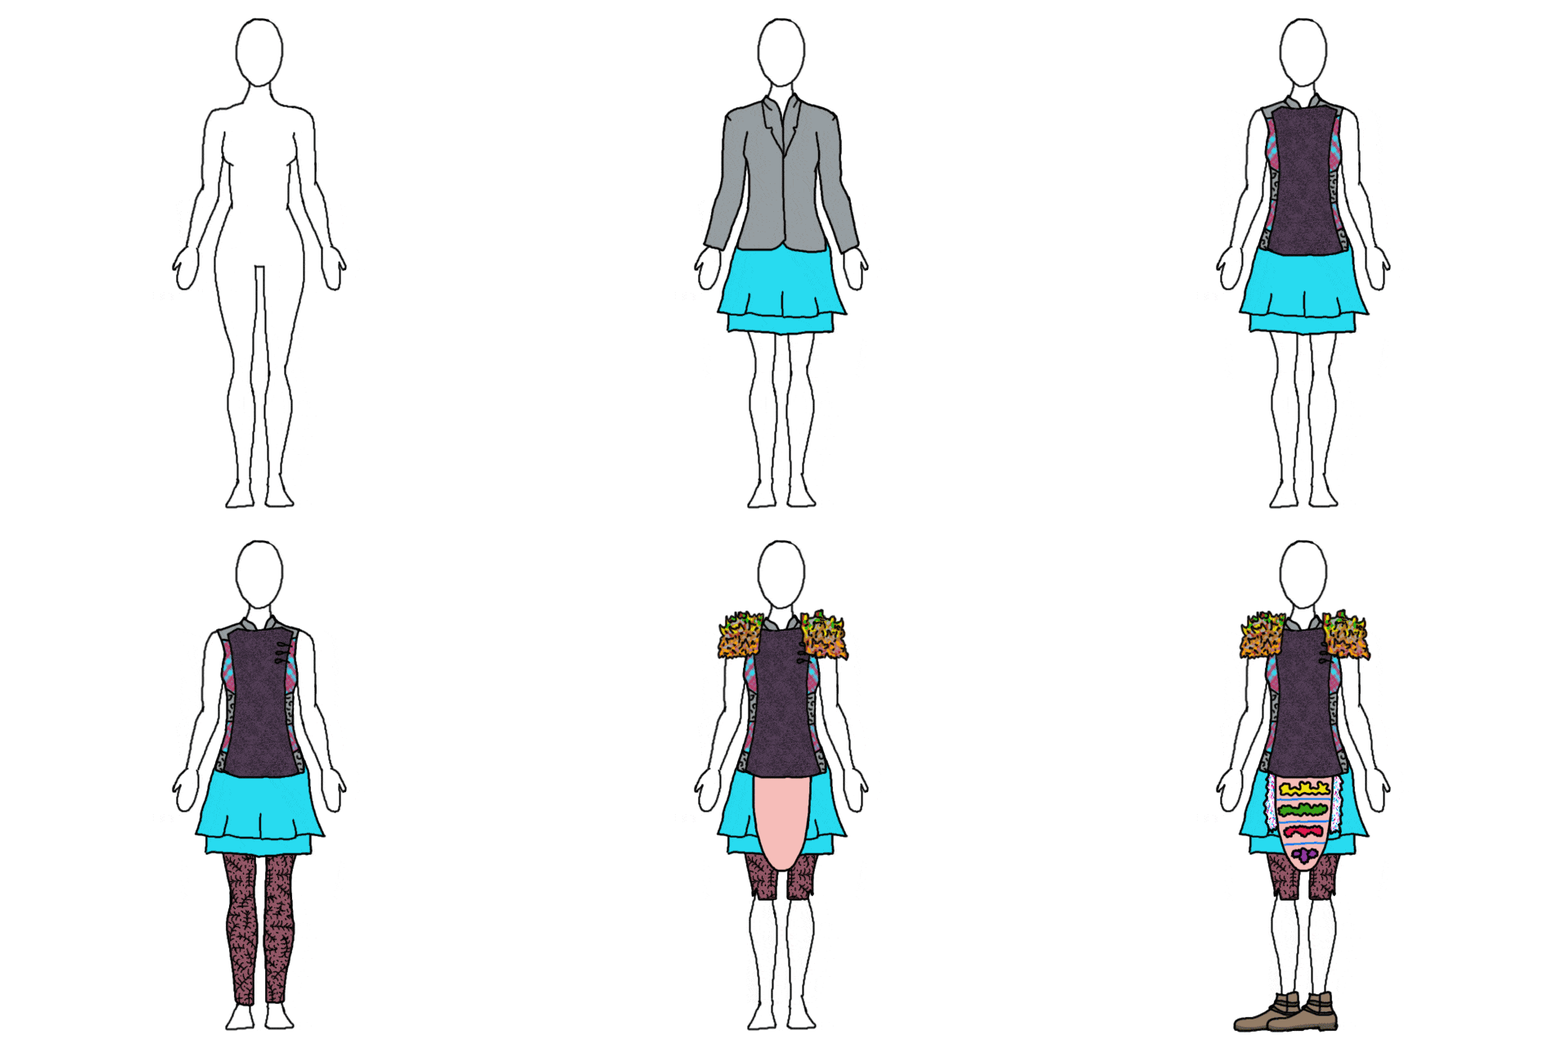 Now, who here is still confused as to where this hideous scarf comes in?? Well… right now apparently. Genuinely the scarf was so questionable that the person who sold it to me couldn’t even find the words to ask why on earth I was buying it, they just looked utterly baffled. I actually only wanted the white tassel trim that was on the edge of the scarf which I was planning to use as the tassel details. I cut it in half so I had one piece for each side of the belt. Each piece was then folded in half and I ran a zigzag stitch up the centre making sure to keep everything flat and keep the tassels out of the way. Then I sewed sections of fluffy wool down the strip I had created to add the colour. When the tassels were allowed to fall into place it created the mix of colours I was after.
With that, it was just an axe to make but that’s for next time, I feel I have kept you here reading long enough.

